The walls and floor of the dwelling that surrounds us are not only our refuge, but our sanctuary, the reflection of our interior; That is why the cracks in them are something unacceptable.
Sadly, by simple physics cracks may appear; they are known as expansion cracks and are often an inevitable scenario.
But it can be corrected!
Repairing large cracks in concrete does not have to be a job that requires hiring a professional in the trade; that’s why we are here, the team of Decorating Visita Casas to guide you step by step in this task.
Your House, Your Temple

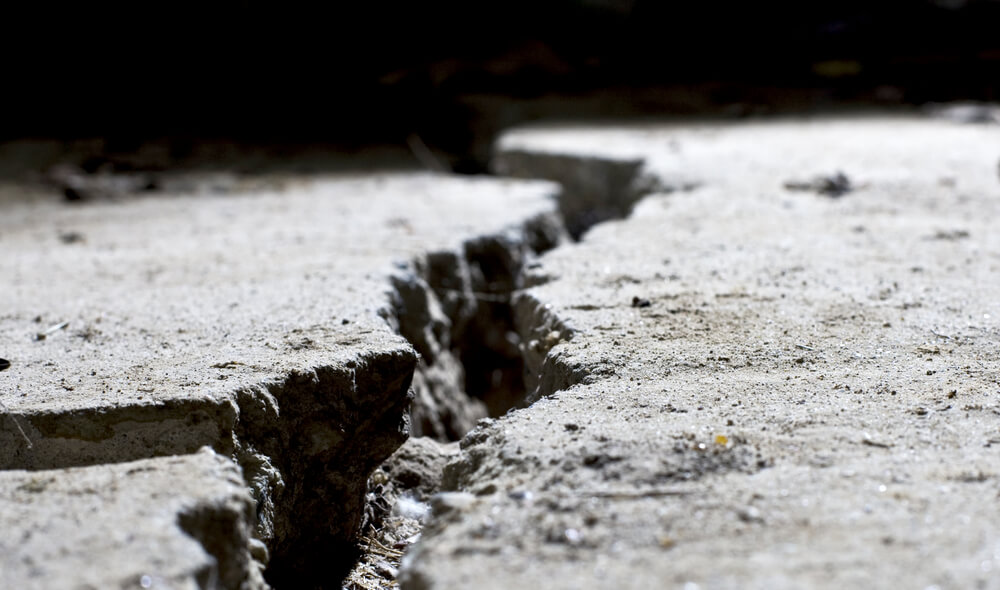
Well so it is; we often face the humidity or the displacement of tectonic plates; these are the silent killers of the integrity of our floors and walls.
When we are faced with the presence of a small superficial crack; however it does not matter how slight it may seem, our internal alarms should trigger. The concrete layer may be slightly damaged; but, in many cases, these cracks have already destroyed the bricks internally.
Something similar happens with the cracks on the floor; let’s face it, a cracked soil produces many sensations but a sense of security.
And let alone the aesthetic aspect of the house; whether on the wall or on the floor, a crack is a symbol of ugliness that symbolizes at the same time a fractured home.
The methodology to follow to repair it starts from something very basic like the cleaning and preparation of the surface to work. That is why; before you continue your reading; the best thing you can do is make sure you have a good broom for the work that awaits you.
Preparing the surface before repair

Every step in the job of repairing large cracks in concrete requires very punctual materials; not expensive or difficult ones to use, but very necessary. For the preparation of the surface the materials required are:
– Bristle of hard bristles, of good quality.
– Chisel.
– Hammer.
Chisel and hammer?
That’s it. The first thing to do before cleaning the surface where the crack is; strange as it sounds, it’s to expand the crack further, open it to make it wider.
Although it seems an irresponsible madness to break more the wall or floor that we must save; it is actually part of the proper repair process; you can see it as a necessary evil.
Many repair mortars (and we’ll talk about them) require a special coating to be able to adhere properly; however, all of them require a surface large enough to fulfill its function.
That is why we must expand the crack in size and depth, giving blows in the form of “V” side to side, so we will have a hole in which the material can adhere correctly. It will also help us to get rid of weak or “false” surfaces that would only cause a detachment later.
Regardless of whether it is a column, wall or floor; the crack must be opened wide enough since this will also allow us to observe the level of internal damage.

Only then proceed to clean the surface to remove any residue, imagine for a moment that you are preparing the surface to apply paint and as clean as such it should be.
You can even use water to clean the wall; although, it is good that you first read the indications of the mortar you are going to apply, this is to make sure that the excess of water or a previously wet wall will not be harmful.
Preparing the Repairing Mortar

The dosage of water that is implemented in the repair mortar will be different depending on the type of surface to be repaired. The repair mortar is a product very similar to cement; only that is thought for this type of work, and so that the cracks do not reappear once used.
When varying the amount of water that is used; the consistency of the mixture will obviously be different and according to the manufacturer indications may vary. However; here we tell you what are the most common and optimal standard relationships, as well as several tips regarding mortar preparation:
– The recommended dosage is 5.5 to 6.5 Liters per bag of 55 Lbs.
– Never exceed the recommended amount of water.
– The consistency of the product must be fluid for the floor cracks, i.e. the maximum dosage of water must be 3: 1 volumes of water.
– For damage to walls, columns and other non-horizontal surfaces, the product must be pastier. Therefore the ratio must be 3.5: 1 volumes of water.
– Remember to use clean water.
– The water temperature must be between 64 Fº and 82 Fº
– If the mixture will have a volume of water greater than two liters (2Lt), prepare the mixture mechanically.
NOTE
To prepare the mixture mechanically, the water must first be poured into the vessel, then the mortar powder will be applied little by little and it will be removed using a drill with an extension of its own. Do not worry about the type of extension; in fact it can be improvised as long as it fulfills the function of stirring the mixture until achieving the desired consistency.
 Last but not least; do not prepare more mortar than you think will be able to apply in a time span of 10 to 15 minutes. It is best to prepare little and get to know your own pace.
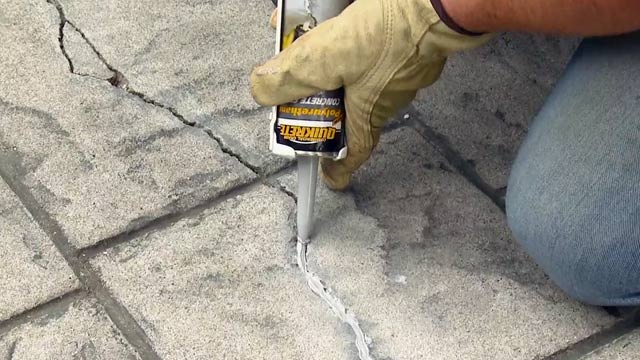
Applying the Mortar in the Cracks

The work must be done in an hour of the day where the sun is not very bright; a very strong sun over the newly made work will cause the mortar to get multiple fissures or cracks.
Apply the mortar using a spatula or masonry spoon; filling, compacting and polishing according to the finish of the rest of the surface.
Remember: some mortars are not designed to be applied to surfaces that are subject to constant flow or immersion of water. That is to say; the shower crack may require a different type of mortar to be purchased. Read the product instructions carefully.

In sections of the floor where the volume is very high; perform the repairs in two layers to avoid the formation of cracks due to overheating when the product reacts.
For vertical surfaces perform the repair in two or more layers; provided that the previous layer has hardened, this in order to avoid the fall of the product.
When finishing the repair always cover the worked area from the sun. This is to avoid overheating and the formation of cracks or fissures.
If the repair was done in concrete of the ground; you should allow the mixture to dry between 30 and 60 minutes before it is again suitable for the pedestrian crossing.

However, if the repair was performed on a floor where vehicles circulate, as is the case of the garage; You must allow the mortar to dry for a period of not less than 4 hours.
Following these tips and the specific indications of the mortar to apply; in a few hours you would have solved your problem without having to resort to a stranger to do the job.
Do not be afraid and join the DIY community of Decorating Visita Casas!
References
What type of mortar mix should I use for a rubble stone wall?

0 comments